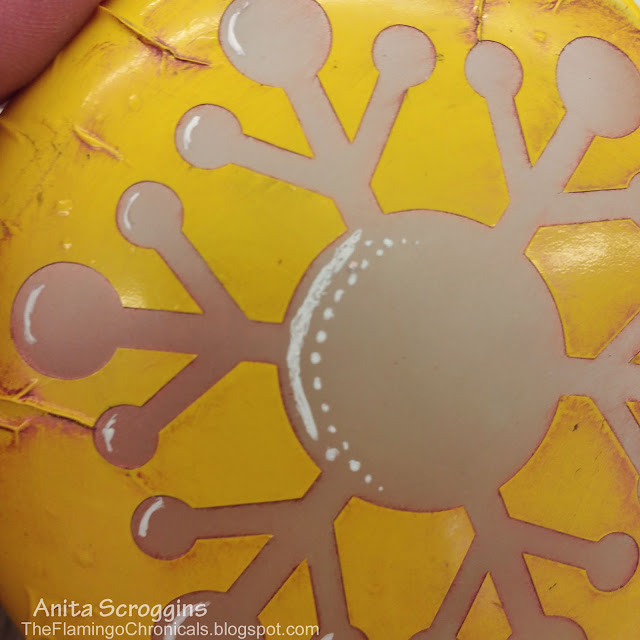
I used etchmask® stencil material to cut my stencil. I used my Cameo machine for this. Have you seen the new Cameo 4 machines? OMGoodness y'all they are amazing!! You can check them out here. If you are in the market for a new cutting machine I can't recommend the Cameo 4 enough.
Etchmask cuts beautifully in my Cameo! Once it is cut I like to trace around the cut design with a marker so I can see where I am placing it. Then I apply my etchmask Transfer Sheet to the top, remove the paper backing and apply to my surface.
After removing (weeding) the etchmask where I want to actually etch, I applied my etchall® etching creme and waited 15 minutes. (When I am working with small ornaments I like to keep a paper towel under them to keep them from getting scratched as I work.)
After 15 minutes remove the etching creme back into the jar to use again (you did know that etchall® etching creme is reusable, didn't you) and rinse the ornament. Since I was going to color my etched design I was very careful to not lift the edges of the etchmask as I was rinsing.
Since the surface has been etched, it now has some "grab" to it and will take color! I used Brilliance Cosmic Copper which has a little mica powder in it for some shimmer.
NOTE: This does take a fair amount of time to dry! I waited a bit and then used my heat gun on it to finish it off.
I used my white Signo pen to add some accents to the colored design, then set the whole thing aside for a couple of hours to let it dry before removing the etchmask.
Of course, it wouldn't be Christmas without some ribbon so I added a nice big bow to the top, some Maya Road snowflakes, some rhinestones to the design, and of course some glitter. Gotta have glitter!
By leaving the etchmask® on while I inked the design, I got a nice dark border around the etched space- this would not happen had I removed the etchmask and then inked.
Be sure to check out all the amazing products that etchall® offers.


Anita, this ornament is gorgeous! I love the red and white striped ribbon you added and the etching is so beautiful. Hope your day is a fun one, CoCo
ReplyDeleteWow, so pretty! The coppery color is awesome, it made a new ornament look vintage. Thanks for the tips on the etching cream, I have never tried it, but now I'm inspired!
ReplyDeleteThese are so pretty! The copper color is great!
ReplyDeleteThese are so pretty! The copper color is great!
ReplyDeleteAnita - your ornament is beautiful...the copper color puts it over the top! Love the creative etching and fab ribbon! Thanks so much for sharing it with our DIY Ornament Hop! Cheers to a great weekend!
ReplyDeleteVicki and Jenn
2 Bees in a Pod
Your ornament is so cute. I never knew you could add color over an etched surface. This just totally blows my mind LOL Thanks so much for your post.
ReplyDeleteSuch a pretty ornament Anita! I really like the copper color of your snowflake! Have a great weekend and take care, Tara
ReplyDeleteThese are so pretty Anita! I have never tried anything like this before but you make it look somehow! Love that ribbon too!
ReplyDeleteHappy Holidays!
Love all of the details that you put into this ornament. Very pretty!
ReplyDeleteLove all of the details that you put into this ornament. Very pretty!
ReplyDeleteHow pretty! I've always wanted to attempt to etch something for my home, but I never thought about making my own ornaments with it. Thanks for the great idea!!
ReplyDeleteThis is really pretty. I have never used this process but you have inspired me to try it sometime.
ReplyDeleteThis is really pretty. I have never used this process but you have inspired me to try it sometime.
ReplyDeleteI love this ornament! I have never thought of adding color after I etched. Brilliant!
ReplyDelete