Hi y'all! Today I am blog hopping with some fabulous Designers over at Designer Crafts Connection! We are using products from Colorbox Colorique by Lisa Marie Jimenez and U-Paint Metal Crafts. I had such a fun time with this project and I hope you give these products a try!
For my project I chose a frame set from U-Paint Metal Crafts that included this lovely oval frame. I used 4 mini canvases that I had on hand, lots of Christmas theme embellishments, some die cuts, and a whole lot of hot glue to finish my project!
My basic supplies are:
Colorbox Colorique
Frame set from U-Paint Metal Crafts
Canvas Corp Mix and Match paper pad
Kunin Classic Felt
3x3 mini canvases
I started by using hot glue to adhere my mini canvases together to form a larger square. Set those aside to dry. I also went ahead and cut my paper squares to adhere to the canvases later on.
I used Moss Landing to paint my metal frame. Using a cheap foam make up applicator is my preferred method of applying color - pick these up in the dollar store. Use once and toss in the trash. Super handy. One coat of color was beautiful - this color is super concentrated!
I also used the Moss Landing on my die cut Christmas Tree. I used smooth white mat board and it took the color beautifully.
I cut a piece of Kunin Classic Felt to fit the frame, trimmed the saying from the larger piece of paper and used hot glue to secure both to the back of the frame.
To color the canvases I used Ruby Slippers and diluted it with water, then used a foam applicator to coat the top of the canvases. I used a heat gun to speed up dry time.
To finish off the frame I adhered to cut paper squares, then the frame, then layered on lots of embellishments.
Festive Christmas Treat Bags
This post may contain affiliate links.
I love to bake and give cookies and cakes at Christmas time. Pretty presentation is super important too. I mean, it's Christmas! Let's be festive and dress everything up! These festive Christmas treat bags are so pretty you won't want to give them away. These bags come together quickly and you can use up some of those fun embellishments you have lying around too! I had these flat sacks left over from another project. They are about 6.5" wide so even GIANT cookies will fit inside.
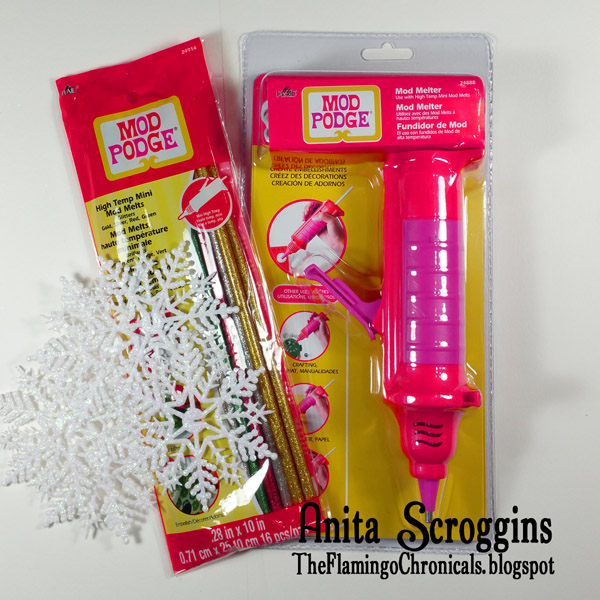
I have been dying to try the Mod Melter for a while. It is a pretty cool tool if you have not used it yet. I recently received a set of the tools and melts from Plaid. (Thanks so much!!) I couldn't wait to break it out and play with it. So far I am loving the fun things I made with with!
There are a variety of molds you can use with the Mod Melter and LOTS of fun colors of the melts. I made a bunch of small embellishments using different molds. I left some plain and painted some of them using shiny colors.
I had a bunch of glittery snow flakes on hand from another project. They are so pretty, but they needed a little something to finish them off. I used a tiny bit of hot glue to attach the finished pieces to the center of the snowflakes. Easy, peasy, and done.
To decorate the bags I used the Canvas Corps Mix and Match Pad: Jolly Christmas. I LOVE the bright colors of this paper collection. The pad also includes some printed canvas, corrugated paper, and two colors of burlap sheets as well. If you are a December Daily fan (like I am!) you will love the sheet of numbered tags in the kit. You can purchase directly from the Canvas Corps website here.
Don't you love these prints!?!? I layered on pieces from different sheets and matted the little tag in the front to make it stand out. I also inked the pieces to give them a little more depth.
I used a variety of ribbon to finish the bags off. Simply fold the top down, punch a couple of holes using your handy Crop-o-Dile and tie a ribbon through. I added the snowflakes with additional ribbon.
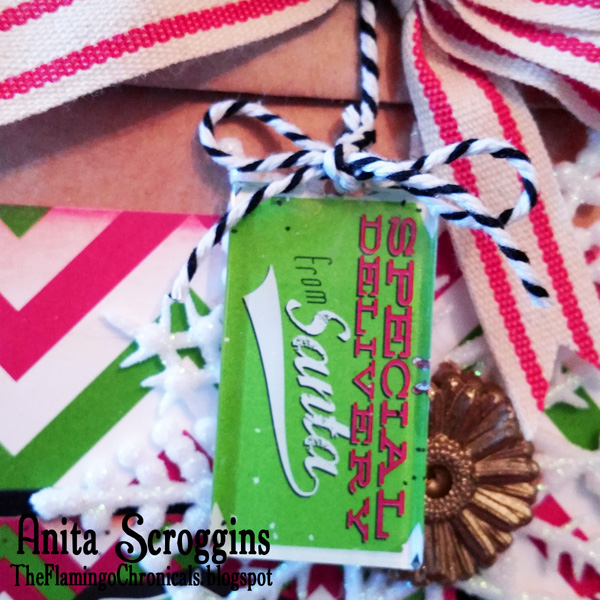
For a fun little touch (and because I like to add lots of stuff to my projects!) I used another sheet from the paper pad to make an acrylic tag. I used a tag from the Mod Podge Acrylic Shape set. Coat the back of the charm with Mod Podge, then settle it on the paper where you want it. Let dry, then trim away from the sheet.
Use some fun twine to attach the charm to the bag.
Christmas Hurricane Candle Holders
Christmas is coming!! Christmas is coming!! Time to get the decorations ready. I love etched glass decorations for Christmas and these Hurricane Candle Holders turned out beautifully! I used two kinds of candle holders from the Dollar Tree to create these - so they are super cheap too.
Supplies:
Did you know that etchall® is reusable? Simply scrape the creme back into the jar when you are done etching and reuse it over and over!
After cutting my stencil, I like to highlight the cut edge to make sure I get it aligned correctly on my project. I use powdered chalk and a pom pom. Simply rub the chalk over the cut edge and brush away any excess. This makes it sooo easy to see once you apply the transfer paper.
Apply a nice thick coat of the etching creme and allow it to sit for at least 15 minutes. Scrape the excess bake into the jar to reuse next time. Rinse the project under running water to remove any left over creme. Be careful not to get creme on the unetched areas of the project as it can leave a film.
I wanted to add some height to my candle holders so I added a plain taper holder under each one. I love using Tombow Xtreme tabs. They are a solid adhesive- meaning it isn't liquid so it won't run all over! This adhesive is so easy to use, simply apply to one surface, remove the tabs, and adhere to the other piece. The bond will strengthen over time, but it is re-positional for a short time after applying.
There you have it! This project cost me $4 plus the materials I had on hand. I may fill them with candy instead of using them as a candle holder - they have so many possibilities.
Subscribe to:
Posts (Atom)


