Die Cut Tutorial with Sparkle N Sprinkle

Happy Sunday everyone!
Have you had a great weekend? 
Who got in some scrappy time? I managed a few hours
 to play around in my studio. YEAH!

Today I have a project to share with you using Sparkle N Sprinkle
Adhesive Sheets. I love glittery titles and accents on my projects.
Here is my technique for getting all that yummy glitter where I want it!

I made this tag to go along with a gift. I wanted to have the top overlay glittered, but once it
is cut it is hard to apply adhesive to this type of cut.

I use Super Adhesive Sheets and plain cardstock. Remove the backing from 
one sheet and apply the adhesive side to plain cardstock. I have found 
that the smooth works better than textured.

 I used my Silhouette Cameo to make my cut. I first went through and removed any little tiny pieces.
For instance, the large flower in the center of my photo had 6 little tiny dots around the center; I removed those to have a more solid image. I used the setting for COVERSTOCK on my Cameo, adding the Super Adhesive Sheet really bulks up the thickness of the cardstock. 

The design I chose had this nice spot that was great to stamp a sentiment in. Because I wanted this section a different color, I very lightly cut along the edges of the box with my craft knife.
Next up is to remove the second backing sheet and burnish with glitter. 

I used Carnation GL for the main part of the design, and Bridal for the small box. 
I stamped my sentiment from Silhouettes Stamp Set directly on top of the glitter using StazOn ink.
I can see from my photo I need to go back and brush that stray glitter off!

Here are some other piece I have used this same technique on


I used my Cameo die cut machine for these, but of course you can use 
any machine or even a manual die cut machine and dies
using the same technique.

I hope you give this a try!
It is a fun way to add some sparkle to your projects.

Thanks so much for stopping by today!

Girl Scout Adventures- ColourQ #238

Hello to all my blogging friends!
I am so loving this spring weather we have right now in 
Dallas- It is only going to last another day or so though. Boo!~

Today I have a project to share using the new Palette at ColourQ

I have to admit I struggled with these colors, even though I like all of them 
except for Elegant Eggplant- I am just not a purple kinda girl!

Here is a look at my project
I made a double page layout this time around, as I had several photos I wanted to use.
Of course- these photos are way back in the day before we all had digital,
so they are the prints I have from my old 33mm!

I have used Kraft paper, Bazzill CS, and I even broke out some of my stash
of Daisy D's paper- I just love that yellow! 

My chippie is Dusty Attic and I have heat embossed it. 
I used a MS punch on the edge of my cardstock.

Sorry about the fuzzy pic- my lens are I were just not on the same page today!
The little tiny flowers are from Iam Roses- and I inked them eggplant.

I used two different punches on the white cardstock, then used an embossing
folder on just the corners for some texture.  I inked the raised bit to make it stand out. 

Of course, I have added my journaling- remember adding your own handwriting to
your pages is so important! If you want to know why- see this blog post

Be sure to link up over at the ColourQ Blog- you have until
next Monday to play along. 

Thanks for stopping by today!
Have a wonderful week!

Deconstructed Layout #4 Moments Like This

Hi everyone!
Today I have another project for
The Deconstructed Layout.


For today's project we are going to be working with the 
fabulous Lindy's Stamp Gang Magicals powders, which of course are
available in the Frosted Designs Store, so be sure to pick some up!


Here is a look at my project,,
I used the Prima Princess papers for this project, along with the new Heidi Swapp
Watercolor Tags, some UmWow chipboard, and Petaloo flowers.

I love this background I created with the Lindy's Nantucket Pearls Magicals 
Set- I have several sets, but this one is my favorite!

Here is how I did it,
I started by sprinkling the DRY powder onto my background paper, just a little bit 
then spread them around with my palette knife just a bit. . Here I used
the Cape Cod Coral- I love how these powders start white and change to such 
beautiful colors when wet! 

Give the powder a good mist of water, until the colors start to run. I did 
not use a paintbrush or anything else to mix them, I just sprayed with 
water and then picked my paper up and tilted it from side to side to let the 
water run around the page. 

Once you have moved the water around the page a big, use your heat gun to
dry the excess water. I held my paper up off the table while I did this so that
the water was still moving around the page- the heat gun will also blow it around a bit.
So it will get mixed up pretty well! Depending on how much water you sprayed
on, you may have to blot the last little bit of water off the page. 
You can add another layer of powder and repeat if you like. 

I am also loving the new Decorative Edge Chalk Tape from Fancy Pants. It is 
great to write on with your white Signo Pen. A couple of tips on that
#1- write slooowly- the ink really needs time to flow out
#2- set it aside to dry for a bit. Heat drying does not work on this- trust me. 

I sprayed my Heidi Swapp Watercolor Tag with silver ink, then stamped over it with
dye ink. I placed a bit of black cardstock behind to make the word stand out.

I am linking up at the following challenges:
Lindy's Stamp Gang April Color Challenge

City Crafters Challenge Blog - Paint It!
Southern Girls Challenge Blog - Earn Your Stripes


Well, there you have it!
I hope you give this background technique a try- it is so easy and fun.
You will be super impressed with the results!


Your Handwriting- why you should be using it on your projects!

Hi blogging buddies!

Today I want to share a story with you. 
Every time I teach a class I hear ---
"I don't like my handwriting"
or
"My handwriting is ugly and messy"
or
"It is too hard to write by hand to journal, I would rather
use a computer"

I am hear to tell you there is a very good reason why you should 
be putting your OWN handwriting down on your projects.

BECAUSE IT IS NOT ABOUT YOU.
 
Here is my story. 
If you are a crier, get your tissue out now.
For some reason, everytime I tell this story people end up bawling- including me. 

This is my Grandmother, Gussie, and my two babies, way back in 1994!
Gussie was the light of my life. When the Hubs retired in late 1994, we
moved back to Texas and bought a house 5 minutes down the road from Gussie
so that I could always be near her. 

My girls were so blessed to get to spend so much time with their 
Great Grandmother while they were growing up. 

Gussie was there for all the big days, and the little days, of our lives.

In about 2000, Gussie developed Rheumatoid Arthritis. It barely slowed her down. 
Keeping up with DR's visits and medications at 85 was a little much,
so I pitched in to help out.

As time went on, I helped out a little more, and a little more. 
Grocery shopping, house cleaning, making sure she ate, - all those 
little things to make sure that she was able to live comfortably in her own house.
I really enjoyed the time I was able to spend with her- it means so much
to me that I was able to enjoy every minute that I could with her.

In August 2009 Gussie had a seizure and spent her first night in the hospital
in her entire life- at the age of 93. After a few days in the hospital, she was transfered
to a rehab center, and from there to a nursing home. 

For 11 months I went every single day to the nursing home to spend time 
with her and to make sure she ate. Everyday when I walked in the door her
 face would light up and she would say "There's my girl!". She told me almost every week that she
was "ready to go home to her God, anytime he wanted to call her". 
She was just waiting on her body to give out. She wasn't really sick in any way,
she was just tired. Tired of living and ready to go home.

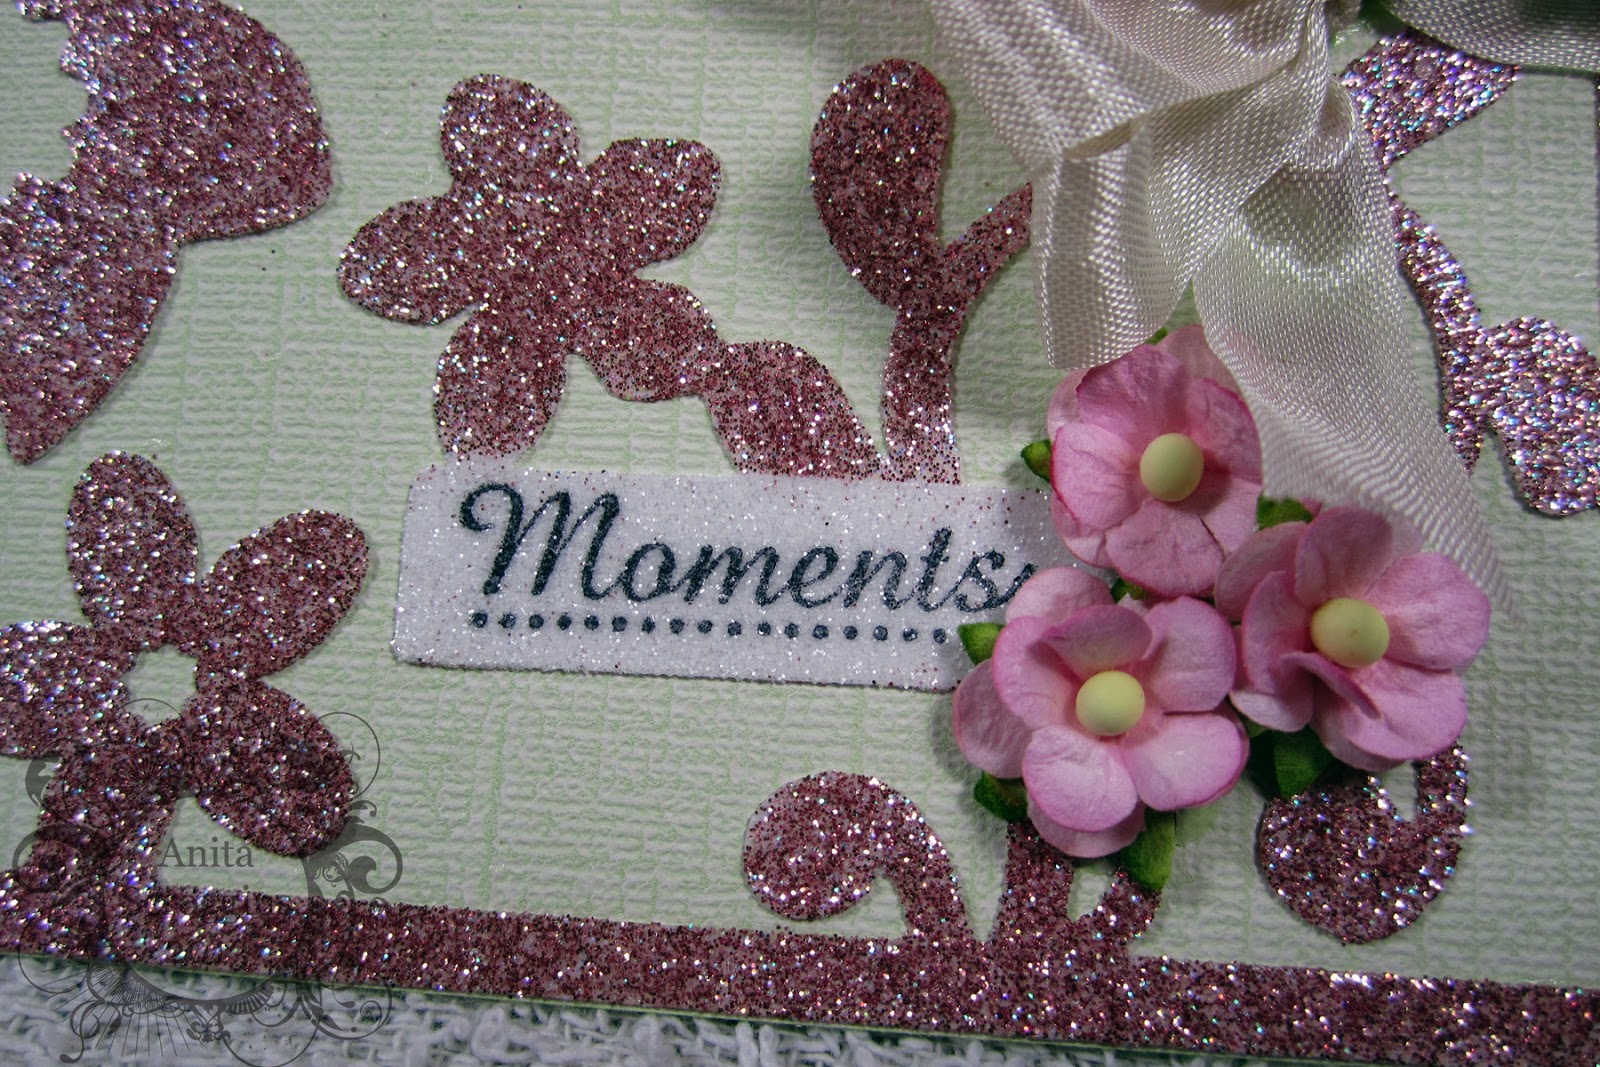
 Here is my layout of the last Christmas that we shared in 2009.


Of course, being the contrary person that she was, she waited until she knew
I would be out of town for 2 days to die. She had already told me she 
didn't want me there when she passed away. 
She wanted to go quietly, alone, in the arms of God. 
I really didn't want to go to retreat.
 Everyone told me to go- I was only an hour away after all.
I stopped on the way out of town to see her and to tell her I loved her. 
Two mornings later I got the call- she had passed away peacefully in her sleep. 
Exactly like she wanted. 

Of course, there was the funeral to get through, and then the estate to settle.
It took us almost a year to sell her house. In that year, we all took little
 things from her house that meant something to us. I had been in and out of 
that house I don't know how many times doing maintenance, 
packing things up, getting ready for the sale, etc. 

On the last day before the sale, as I stood in her kitchen one last time
to let those memories sink in, I opened a drawer 
I had opened a hundred times. I moved a few papers and found 
something that made my heart stop. 
In the bottom of that drawer was a pile of recipes, collected over
countless years, written in Gussie's own hand.
She wrote recipes on scraps of paper, the backs of envelopes, 
the back of a water bill, little tiny note pads- she was a child of
the Great Depression, she wasted nothing!

Now, for all of you who say your handwriting is ugly, messy, or bad, 
take a look at this,,,

Do you see this chicken scratch??? And she wrote this before the arthritis made her 
hands curl up, and old age made her hands shake. This was her GOOD penmanship!
 I defy any of you to tell me that your handwriting is worse than what you see 
right here. Gussie's writing was barely legible most of the time.

But let me tell you something;
I sat on the floor of my grandmother's kitchen
 and cried, big sobbing tears like a little girl, over these scraps of paper 
covered in that horrible, ugly, handwriting.

These pieces of paper are some of my most precious possessions.
They are priceless beyond compare.
I can look through these papers and see my Gussie's life in that writing.
I can tell the ones she wrote earlier in life. I can tell which ones
she wrote after she started shaking. I can tell which ones she wrote
after she stopped cooking- they have missing ingredients!

So here's the deal...

You need to put your handwriting down on paper because
sometime, somewhere, there will be someone who will be
grateful that you did.

You need to put your handwriting down on paper because 
computer journaling does not portray you. That printed font can never
portray your life like pen and ink.

You need to put your handwriting down on paper because
one day you will be gone and the love ones that you leave behind
will be looking for personal ways to connect with you.

But most importantly, you need to put your handwriting down on paper because
that little piece of you that is left behind will mean the world
to someone- and let me tell you that they will not give one damn that your
handwriting is not perfect. 


Just write it down.
Anita

Please share this with your crafty friends.
 Some schools are not even teaching cursive writing any longer
and that is a real shame. 
Journaling by hand is such an important part of 
memory keeping- we need to make sure that it continues. 


Day at The Zoo- Sparkle N Sprinkle

Well,, it is a rainy afternoon here in Dallas, so I guess that means I should
spend the afternoon in my craft room, right?

Today I have a project for Sparkle N Sprinkle to share with you using
the new Ellie The Elephant #553 stamp set that was just released the 1st of April.
It is so cute!!

I have used Bazzill cardstock along with Echo Park papers. I sprayed my entire background 
cardstock with Iridescent Memories Mist- I am so loving that product- then stamped a border
across the page using Brocade Backgrounds and heat embossed with Cappuccino.

I stamped my Ellie the Elephant onto smooth white cardstock, and colored with
PITT® Pastel Pencils from Faber-Castell Design Memory Crafts. 
The flowers are from Spring Backgrounds, which I stamped and heat embossed.
I then covered the image with VersaMark, srpinkled with  Stickum Powder and heated; 
once it was nice and sticky and covered with Bubblegum Glitter- with the Stickum Powder the 
glitter will stay in place perfectly! The sparklers in the centers are KaiserCraft.

I cut my banner with my Cameo, and gave it a good spray with Iridescent Memories Mist too. 

My chippie is Dusty Attic and I have heat embossed it with Black Detail. I also used
my Cameo to cut my title, using 2 1/2" Tear-ific Tape applied to cardstock, then burnished 
with Meadow Spark GL. 

I am linking up a the following challenges:
Scrap Our Stash #13- Spring Colors
Lasting Memories- The Little Things


Thanks for stopping by today!

OUCH! - Frosted Designs Challenge Journaling plus One

Happy, Happy, Friday everyone!!

What are your plans for the weekend?
I am doing a Make N Take all day tomorrow- so much fun!!

Today, however, I have a project to share with your for
FROSTED DESIGNS,,


It is Lori's turn to host the challenge and
she has chosen Hand Writing + 1- Paint/Mist/Ink

Here is a look at my project,,,
I have used FabScraps papers, Blue Fern Studios chipboard,
Wendy Vecchi Stamp/Stencil combo, Fiskars punch, 7 Gypsies Stamps,
Quick Quotes Powder Puffs Inks and my Cameo.

For my pennants, I used the Little Yellow Bicycle wood pieces from the
Season Of Stars Scrapbook Kit - but I turned them over and inked them with
Biscotti Powder Puff Ink to match my color scheme.
I used my Cameo to cut my title, it is cut from double sided tape applied to cardstock,
then burnished with micro fine black glitter.

I used my beloved 7 Gypsies journal stamp set along with the Biscotti Ink to
accent this corner- you know I can't take any white space!!

I am so in love with these stamp/stencil combos from Wendy Vecchi - they
are amazing!! I have used Dylusions and Perfect Pearls here to color
my stamped image. I accented with the Signo White Pen.

 Be sure to hop over to the blog and see
the other projects from our AMAZING Design Team!!

Thanks so much for stopping by today!