Fun and Cute Christmas Gift Card Holder

This post may contain affiliate links.


Christmas Gift Card Holder


I am so in love with this paper from Doodlebug Designs! It is the new Milk and Cookies line and I picked it up at the Craft Warehouse when I was in Idaho a couple of weeks ago. I always give lots of gift cards at Christmas time so this paper was perfect to make a fun and cute holder for one.


Defelcto flexible pouches
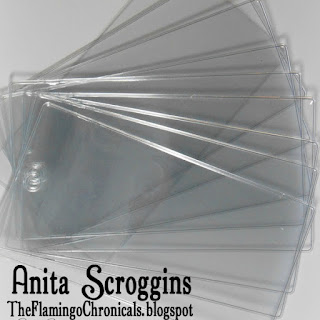
Deflecto Flexible Pouches come in two sizes and they are great for all kinds of projects! I used the smaller size for this gift card holder. These pouches are also great for storing paint samples and color combos; they are super handy to carry in your purse when you are shopping.   You can also use the large size pouches to create a mini album - check it out here.

Creating a custom gift card holder
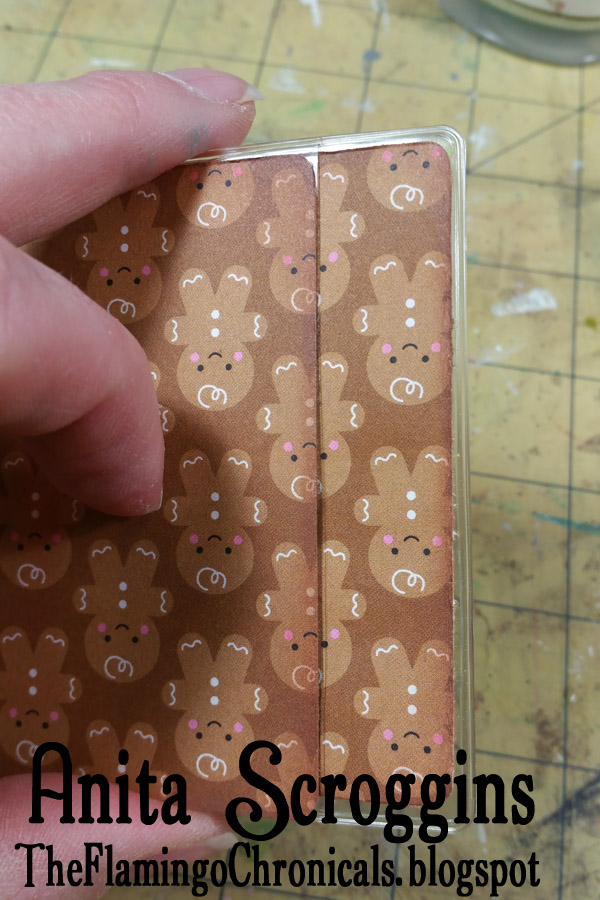
I started by covering both sides of the pouch with patterned paper. I used the new Milk and Cookies line from Doodlebug Designs - it is so cute! On the back side of the pouch where the plastic overlaps, I adhered a smaller piece of paper to slip inside.

Here comes Santa Claus
I adorned the front of the pouch with more paper from the Milk and Cookies line. I love to add faux stitching to my projects - it just adds so much visual depth to a piece! I layered die cut stickers, paper accents, and some amazingly cute Shape Sprinkles to embellish this side.  My last step was to outline the sticker shape with a thin black pen - it just makes the shape pop off the page. I am in LOVE with the Stabilo Point 88 Thin Line pens. Those things are amazing an give the best thin line!

Ho Ho Ho
On the reverse side I added more paper accents. The sentiment is created with Joy Embroidered Letters. These two colors were perfect for this paper line and this font is so fun and playful.  I cut a matching piece of card stock to fit inside the pouch and adhered the gift card using temporary tape. Punch a hole in the end of the card stock and tie on lots of ribbons to finish it off.

Milk and Cookies

Who wouldn't love to get this super cute Gift Card Holder? I am pretty sure there are going to be a few of them floating around the tree on Christmas morning here at our house.

To see more great ideas using Deflecto Products be sure to check out the blog.

Spooky Monster Popcorn Box

This post may contain affiliate links.


Halloween popcorn box
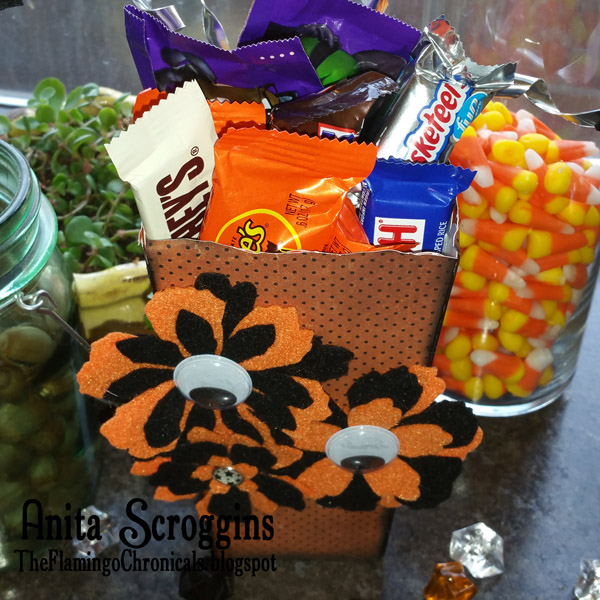
Spooky greetings y'all! I am so happy to be taking part in the Halloween Popcorn Box party of 2017 hosted by Laura Kelly. This is such a fun and creative event. I turned my popcorn box into a Spooky Monster!  I used the popcorn box from World Market as my base of course. To create my monster I covered the box in patterned paper and inked him up. 

Die cut felt
I die cut the amazing Kunin felt using dies by Eileen Hull to create these spooky fun flowers. Did you know that Kunin felt is made from recycled bottles? Totally true! I LOVE that! Twelve bottles equals one pound of fabric. The felt is weather resistant and fade proof, great for outdoor decor.
The giant google eyes are from Oriental Trading Company. What kid doesn't love giant google eyes? 

Flying bats

What would Halloween be without a few bats? To make these cute bats fly I attached them to the end of Deflecto Flexible Sign Danglers. These things are super cool- they are made of thin metal that you can shape any way you want and they have adhesive at each end on a little tab. You are going to want some I promise you.

Halloween treat box

 Stuff with candy and you have the best Spooky Monster on the block! 

Thanks so much to the sponsors of the 2017 Popcorn Box Party Blog Hop for providing supplies to the bloggers or prizes. 


Bat Juice Potion Jar

Bat Juice Potion Jar
I love Halloween! And I love to decorate for Halloween. Every year I like to create a few new projects to add to my collection. This year's project is this fun Bat Juice Potion Jar made using a Dollar Tree glass jar.

----->This post contains affiliate links. Hey, it keeps me in paper. <-------- p="">

So, first up I etched the jar. Super easy to do. Grab your etchall® and let's get started.
hinge method of applying vinyl
Cut your mask, line up on the bottle, and put some tape down the middle. This way I could line it up and place one side while the other side was still stationary. Bam. Perfect placement. 

applying etching creme
Add some masking tape all around to keep the etching creme in place and add your creme. Let it sit 15 minutes, then scrape it back into the jar. Rinse under cool running water and dry. Remove the stencil.

Drink Me halloween sign
Next up, let's add some fun stuff to it! For this project I have use the Flexible Sign Danglers and the Mini Slanted Sign Holder from Deflecto, Joy Embroidered Letters. I used some vintage Doodlebug Designs paper for the inside of the frame and added some 3D decorations to the outside of it. I used a Flexible Sign Dangler to fly my bat. FUN!
I ran the letters through my mini Xyron machine to get them to adhere to the etched area of the bottle, then added another felt bat (from Hobby Lobby, y'all) below them.

Flexible sign dangler
I also used a Flexible Sign Dangler to attach another flying bat to my potion bottle. These little sign danglers are so easy to use in so many ways! I added twine, a paper flower and a brad to the top of the bottle to finish it off.


Don't Make Me Get The Flying Monkeys Tray

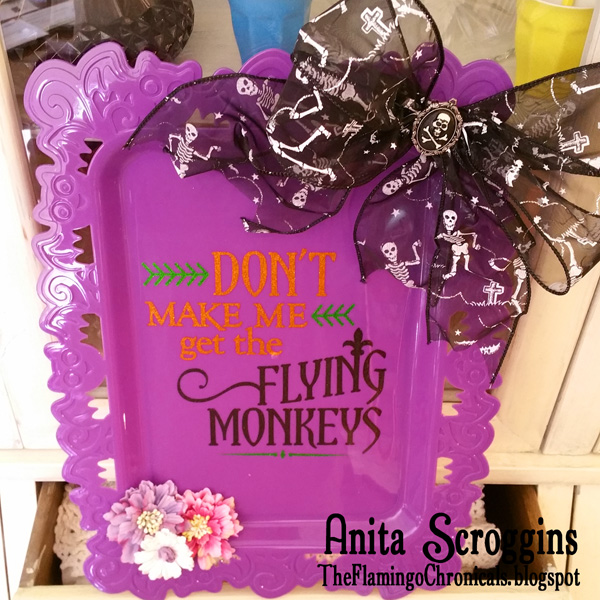
Halloween is my favorite time of the year. I love to decorate for Halloween and every year I try to come up with something new and fun. This tray is a fun and easy decoration that you can make in just a few minutes. Don't make me get the flying monkeys is one of my favorite phrases of all time.

Flying Monkeys Halloween Tray
For this project I picked up a dollar store tray you some flowers from my stash and a really great ribbon that I had on hand.

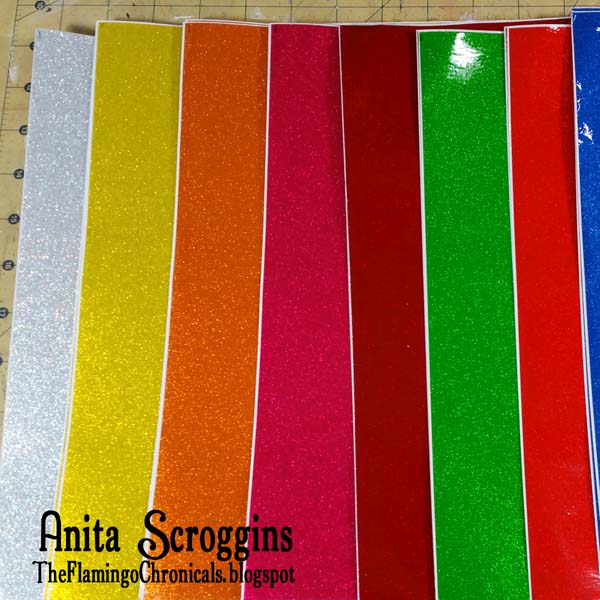
Transparent Glitter vinyl

I love the transparent glitter vinyl from Style Tech Craft. It has lots of fun colors and I swear this is the easiest final I have ever weeded. Pop over to their Facebook page see lots of examples of their great projects and sign up for a free sample.

Layering vinyl
The save on vinyl I cut each color separately and then layer the colors together on my project. If you only have a couple of colors it's a pretty easy task to do once you've done it a couple times and have a little practice.

Vinyl Hinge method
I use the hinge method for placing my vinyl down. Once you have your colors in place use a piece of masking tape and place it all the way across one piece down the middle. Remove the backing from one of the pieces and placed a small portion down on your project. Once you have that piece down you can remove the rest of the backing from that piece, placing it all the way down and it will be aligned perfectly.

 Thanks so much for stopping by today. To see more of my projects check me out on Pinterest, Facebook, and Instagram. (links in my sidebar).