Sparkle N Sprinkle October Reveal


Welcome to Sparkle N Sprinkle's October 1 Reveal.


This month SIX new stamp sets are being introduced.   These sets are 20% off their regular price, until October 3rd.  All the new reveal sets are available on Cling Mounted Rubber and as a digital image. The Bubble Gum, set #664 is the stamp set featured in  This Month's Technique Video.


The sets are:


Welcome Autumn #650   (Digi version - DIGI650)

Party Penguins #654  (Digi version - DIGI654)

Witches Brew #660  (Digi version - DIGI660)

Bubble Gum #664  (Digi version - DIGI664)

Beautiful Friendship #665  (Digi version - DIGI665)

Ellie's Dance Lesson #667  (Digi version - DIGI667)


On Oct 3rd,  one Grand Prize Winner will be selected from the comments left on the designers' blogs listed below.  The Grand Prize Winner will receive their choice of:


1) all SIX of the new rubber stamp sets

or 

2) all the new digital stamps and digital stamp sets. 


The new SNS Creative Challenges also begins today, with lots of prizes and recognition badges. 


The winner of the blog hop will be announced on Oct 3 on Facebook, the SNS blog, and on our blogs:


(Tip: if you have a problem with a particular link, try clicking on the person's blog title to send you to their Home page.)


Don't forget to leave a comment with each Designer to be eligible for the Grand Prize.  We love reading your comments and hope we have inspired you as well.  If you absolutely can not leave a comment for some reason, please email icinganne@yahoo.com with your comment and the name of the blog or Designer you are commenting about.

We hope you enjoy the New Reveals as much as we do!
Wonder which Designer contains the Grand Prize this month?

Here is a look at my project,
I have used the new Bubble Gum#664 for my layout. 
My papers are Kaisercraft Bundle of Joy Baby Girl and I added some paper doilies, stencil and embossing paste that I colored with Gelatos, and some die cuts from the dame paper line.

My sentiment is from the Bubble Gum set and I used 3/4" Tear-ific Tape across the bottom before punching and burnishing with Shell Pink GL.  The Bling is from Mon Ami Gabby which is new in the shop.

I fussy cut the roses from the PP and added some shimmer using my Sakura Glue Pen and Cloud Nine GL. I also fussy cut the Carriage and stamped the sentiment from the Crystal Medallion #531 set. The pretty eyelet ribbon is also available in the store!

To create this texture I colored my embossing paste then pressed through a stencil, and while the stencil was still in place I covered it with Twinkling Clouds SS107 and pressed it in pretty well. Then I removed the stencil and set the whole thing aside to dry. When dry brushed the excess flocking off.

I used the Journal Mixed Media Set #606 and Buttercup Petal EP on the chipboard circle (from Technique Tuesday). For the title chipboard I used Cayenne EP.


Thanks so much for stopping by today!

I hope you are having a fabulous week so far.

Be sure to leave a comment at all the stops along the way,
you never know who will have the grand prize!

Anita


Falling in Love with Fall Decor Blog Hop


Welcome to the Falling in Love with Fall Decor blog hop! If you love fall decorating as much as we do you are in for a treat!


10 different designers came together for their love of fall decor and can't wait to show you their fall decorations!
Make sure you comment on each blog for a chance to win big prizes!  


 For my table decor this fall I pulled some items from the china hutch and started arranging. 
And yes, I used pink in my fall decor! This is Texas after all and it rarely gets really cold here. Some of my roses bloom year round. So I keep some pink in my decor year round.

 The pitcher in the middle is from my husband's grandmother. It has a crack and no longer holds liquid, but it is perfect for holding silk flowers! I grabbed some old bottles I collected and added some greenery to them. The glass globes I have no idea where I picked those up, but I use them all the time! I poured salt in the bottom to stabilize the candles that I added. 

 To add a bit of whimsy, I added some candy corn to surround my candles. Since there are no kids in the house this year, I stand a decent chance of making it to Halloween without having to replace the candy corn!

 Here is a look at the fabulous prize that is up for grabs,
  The winner will be announced at ritabarakat.com on Oct 3!


Start here!
You are here! Anita Scroggins http://theflamingochronicals.blogspot.com/

a Rafflecopter giveaway

Giveaway | Rafflecopter :)
www.rafflecopter.com

Thanks so much for stopping by, have a great week!

Anita

More Deflecto Love

I have so happy to be part of the Deflecto USA Ambassador Design Team- because you all know how much I love to organize! 


Everything in it's place makes my heart happy and let's me create the whole day long. This month we received some amazing products to work with and I wanted to recap how I used mine in my studio. 

 I was really happy to see these Stackable Cubes. I can't decide which one I like the best! I had been on the search for something to hold my set of Tombow markers so the Cube with the X Divider was perfect! The 
4 Drawer Cube keeps all my washi tape in line where I can see it, so maybe I will actually use it!

I used the 5 Bin Unit to hold my most used spray inks right in front on my work table.

and the 6 Bin Unit to hold my desk supplies over on my desk. The cute To-Do List is one of Deflecto's Frames that I prettied up with Washi Tape and stickers.

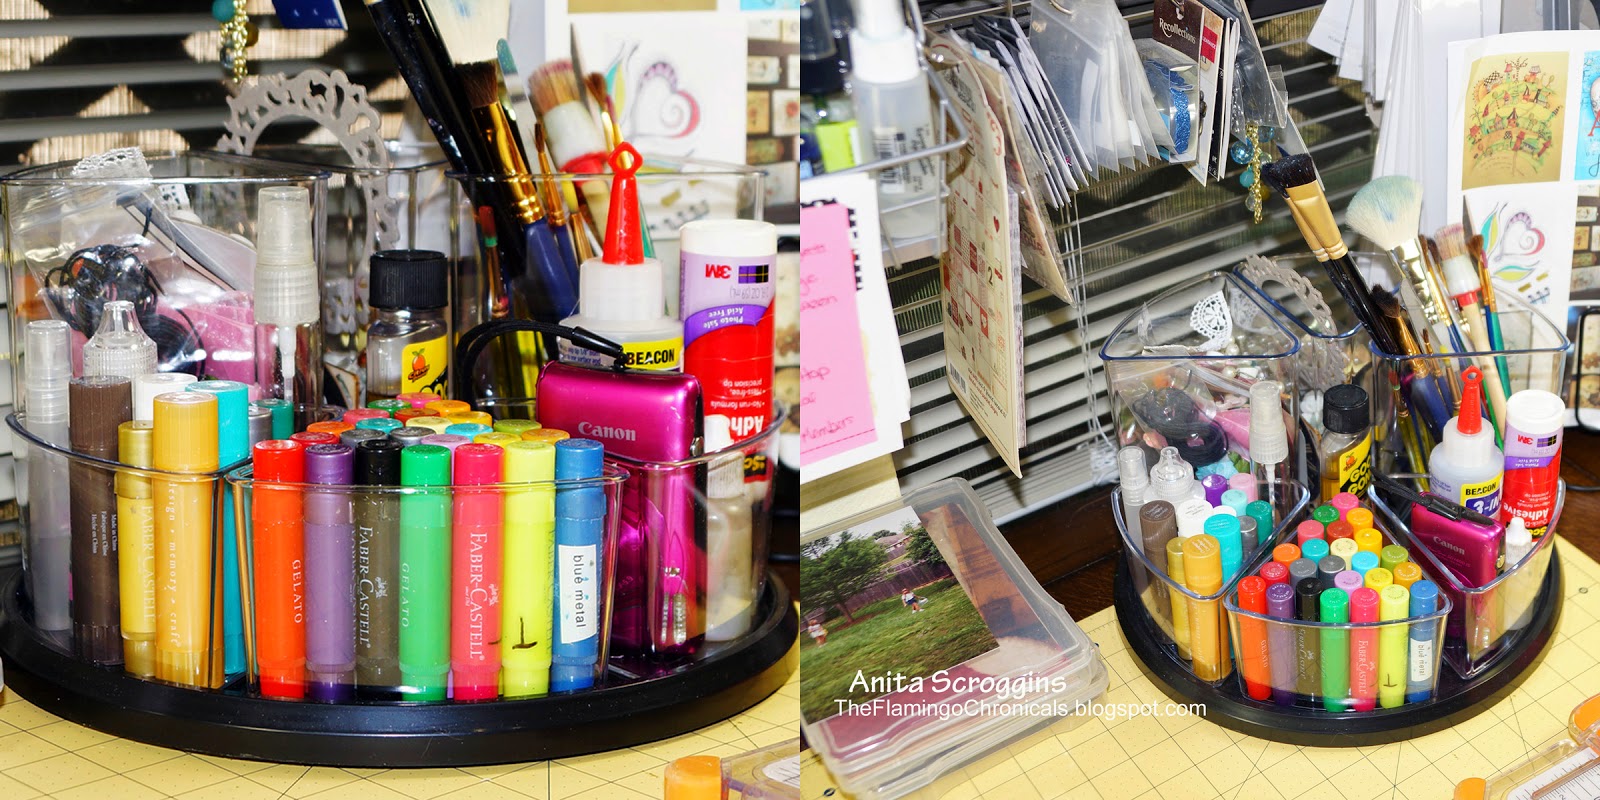
I think my favorite item this month is the Carousel Rotating Organizer. This was so great for getting all the little loose bits off my work table! All the little things I had laying around on my desk that I reached for all the time. This was great for cleaning up my desk and clearing out my space.

Be sure to check out our Deflecto Fan Facebook Page and give us a Like so you can get the latest updates! Follow the Deflecto Design Team on Pinterest to see all of our fabulous ideas.  Deflecto has lots of other great ideas on Pinterest too, so be sure to follow the rest of their boards.

Thanks so much for stopping by today and have a great week!
Anita

New Additions to my Studio - Deflecto Craft Solutions

Good morning to all of my blogging friends.
This morning I want to share some new storage I have just added to my studio.

If you have ever taken a look at My Studio, then you know I love to organize!
I like for everything to be in it's place, I do NOT like clutter, and every item has to go back to 
it's proper place after each project is completed or I simply cannot function.


I used the Interlocking Tilt Bin 5 Bin Unit to hold my most used Spray Inks.  The bin sits on the back of my table just off my mat so it is easily within reach. Each bin holds 5-6 depending on size, and since I can see right through the front I don't have to hunt for the one I want. The bins are tall enough to accommodate a wide range of brands too.

The Carousel Organizer 3"/6" Set comes with more canisters than I am using here. I wanted to use the carousel to clean up all the little things that were loose on my desk and to get rid of all the individual containers. 
So I removed the lids from the bins, and filled them up with all the things that had been cluttering up my desk top. Since it revolves, everything is easy to get to, but nicely contained in one spot!

The 6 Bin Unit I used on m desk so keep all the little bits and pieces over there neat and contained. Again, I was able to get rid of several individual containers, which makes my desk seem so much less cluttered!

I also used one of my fabulous acrylic frames from Deflecto to make a cute To-Do List for this area. I used some vinyl tape around the edges, added some stickers, and then just slide a plain piece of copy paper into the holder. 

Thanks so much for stopping by today!

Have a fabulous weekend

Anita

Deconstructed Layout #14 A Perfect Moment

Perfect Moment Layout
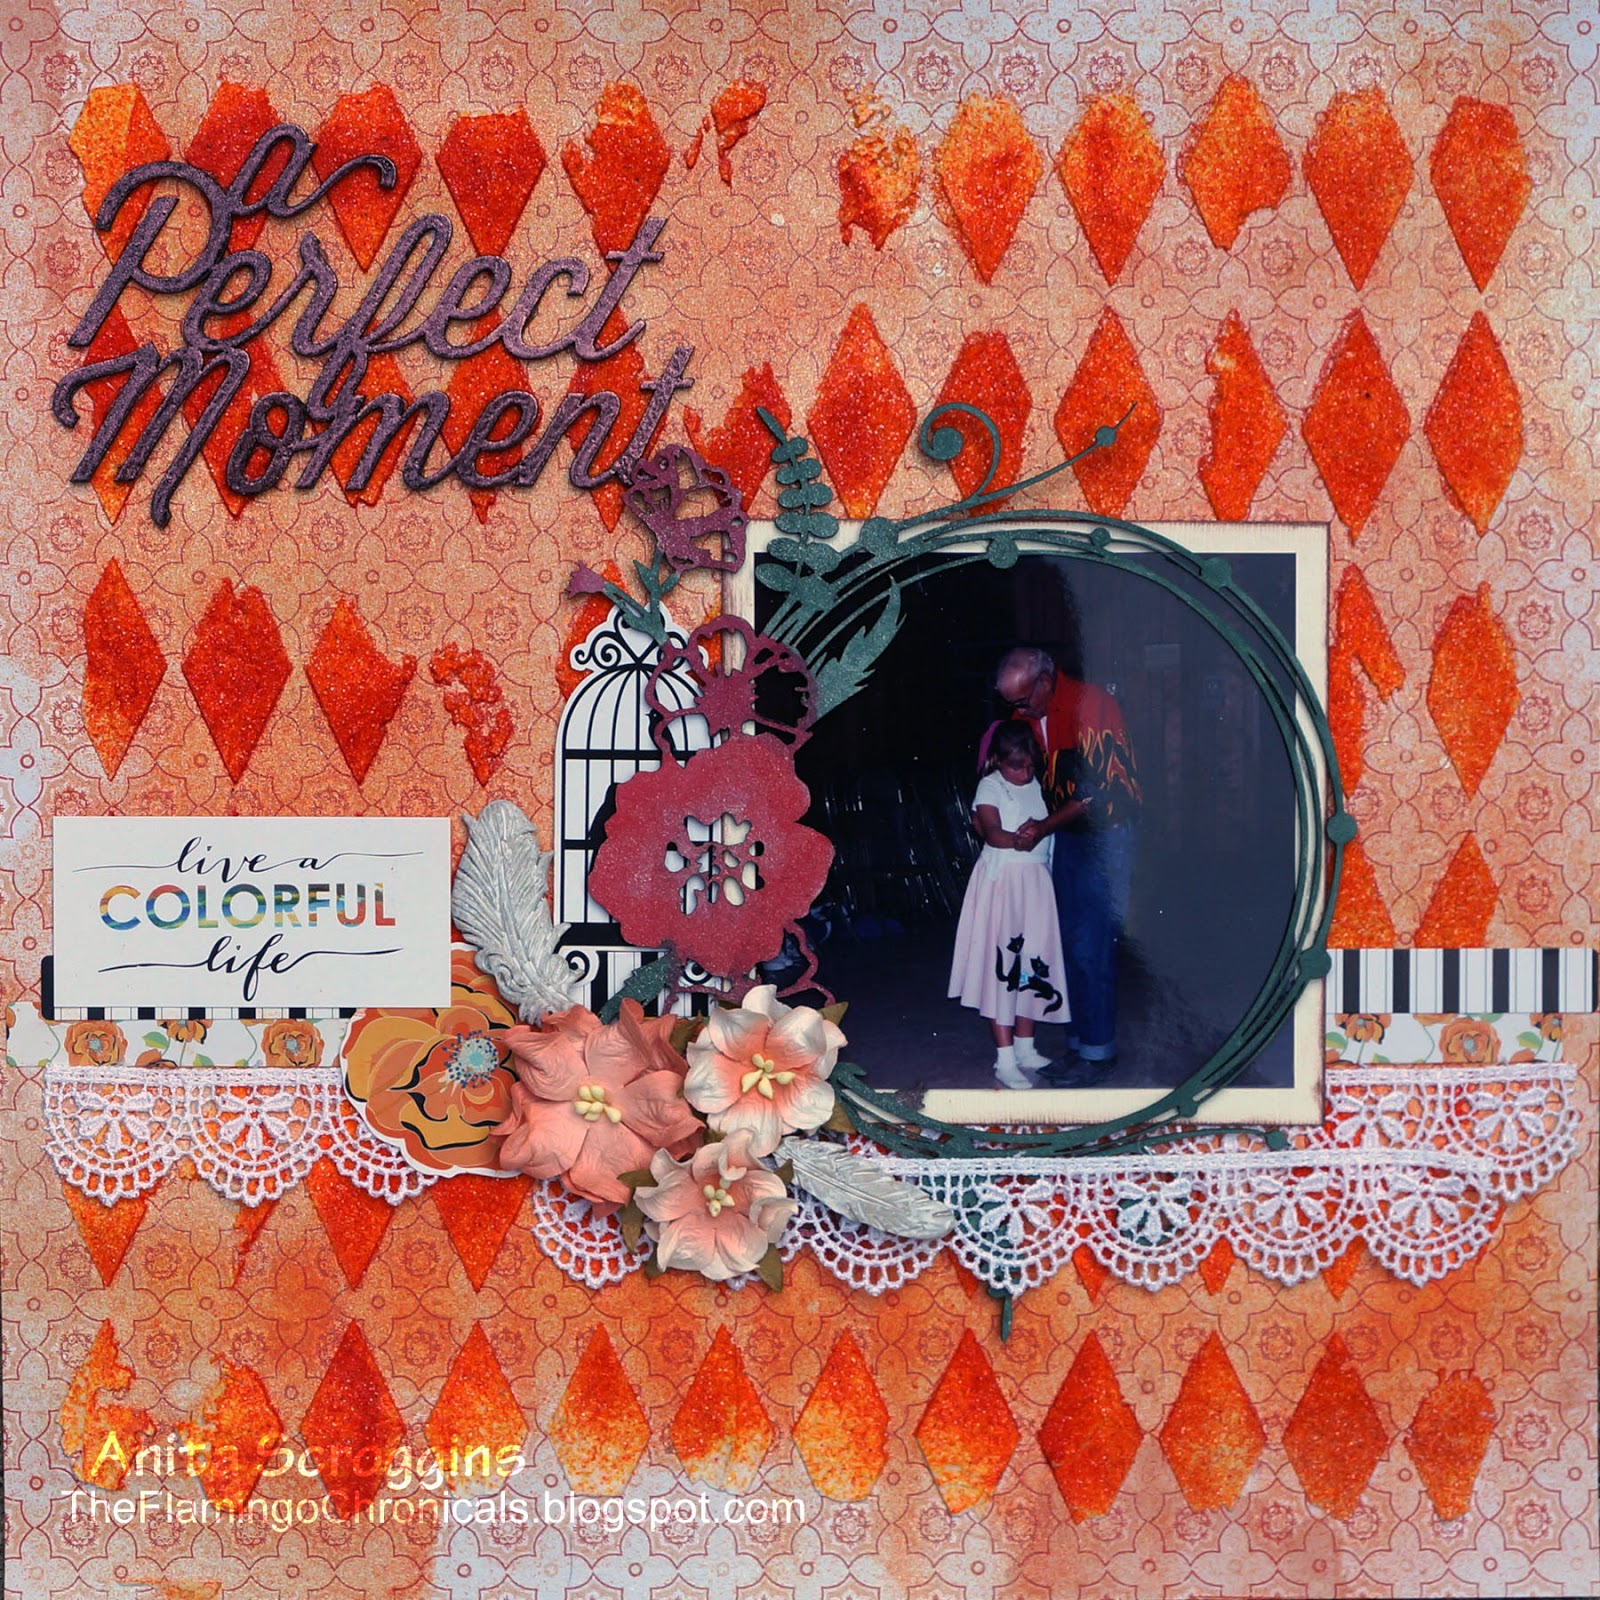
 For today's Deconstructed Layout - A Perfect Moment-  we are going to talk about background texture. I love working with stencils and molding paste, but there are times when I want to add a little something more to it.
 I hope you are enjoying these tutorials as much as I am!


For this layout, I wanted to really play up the color of the We R Memory Keepers paper, which was a beautiful  orange. So I grabbed a stencil, my Molding Paste and knife, some DISTRESS GLITTER and a jar of LINDY'S STAMP GANG FLAT SHOT  in Mango Mania.

Distress glitter
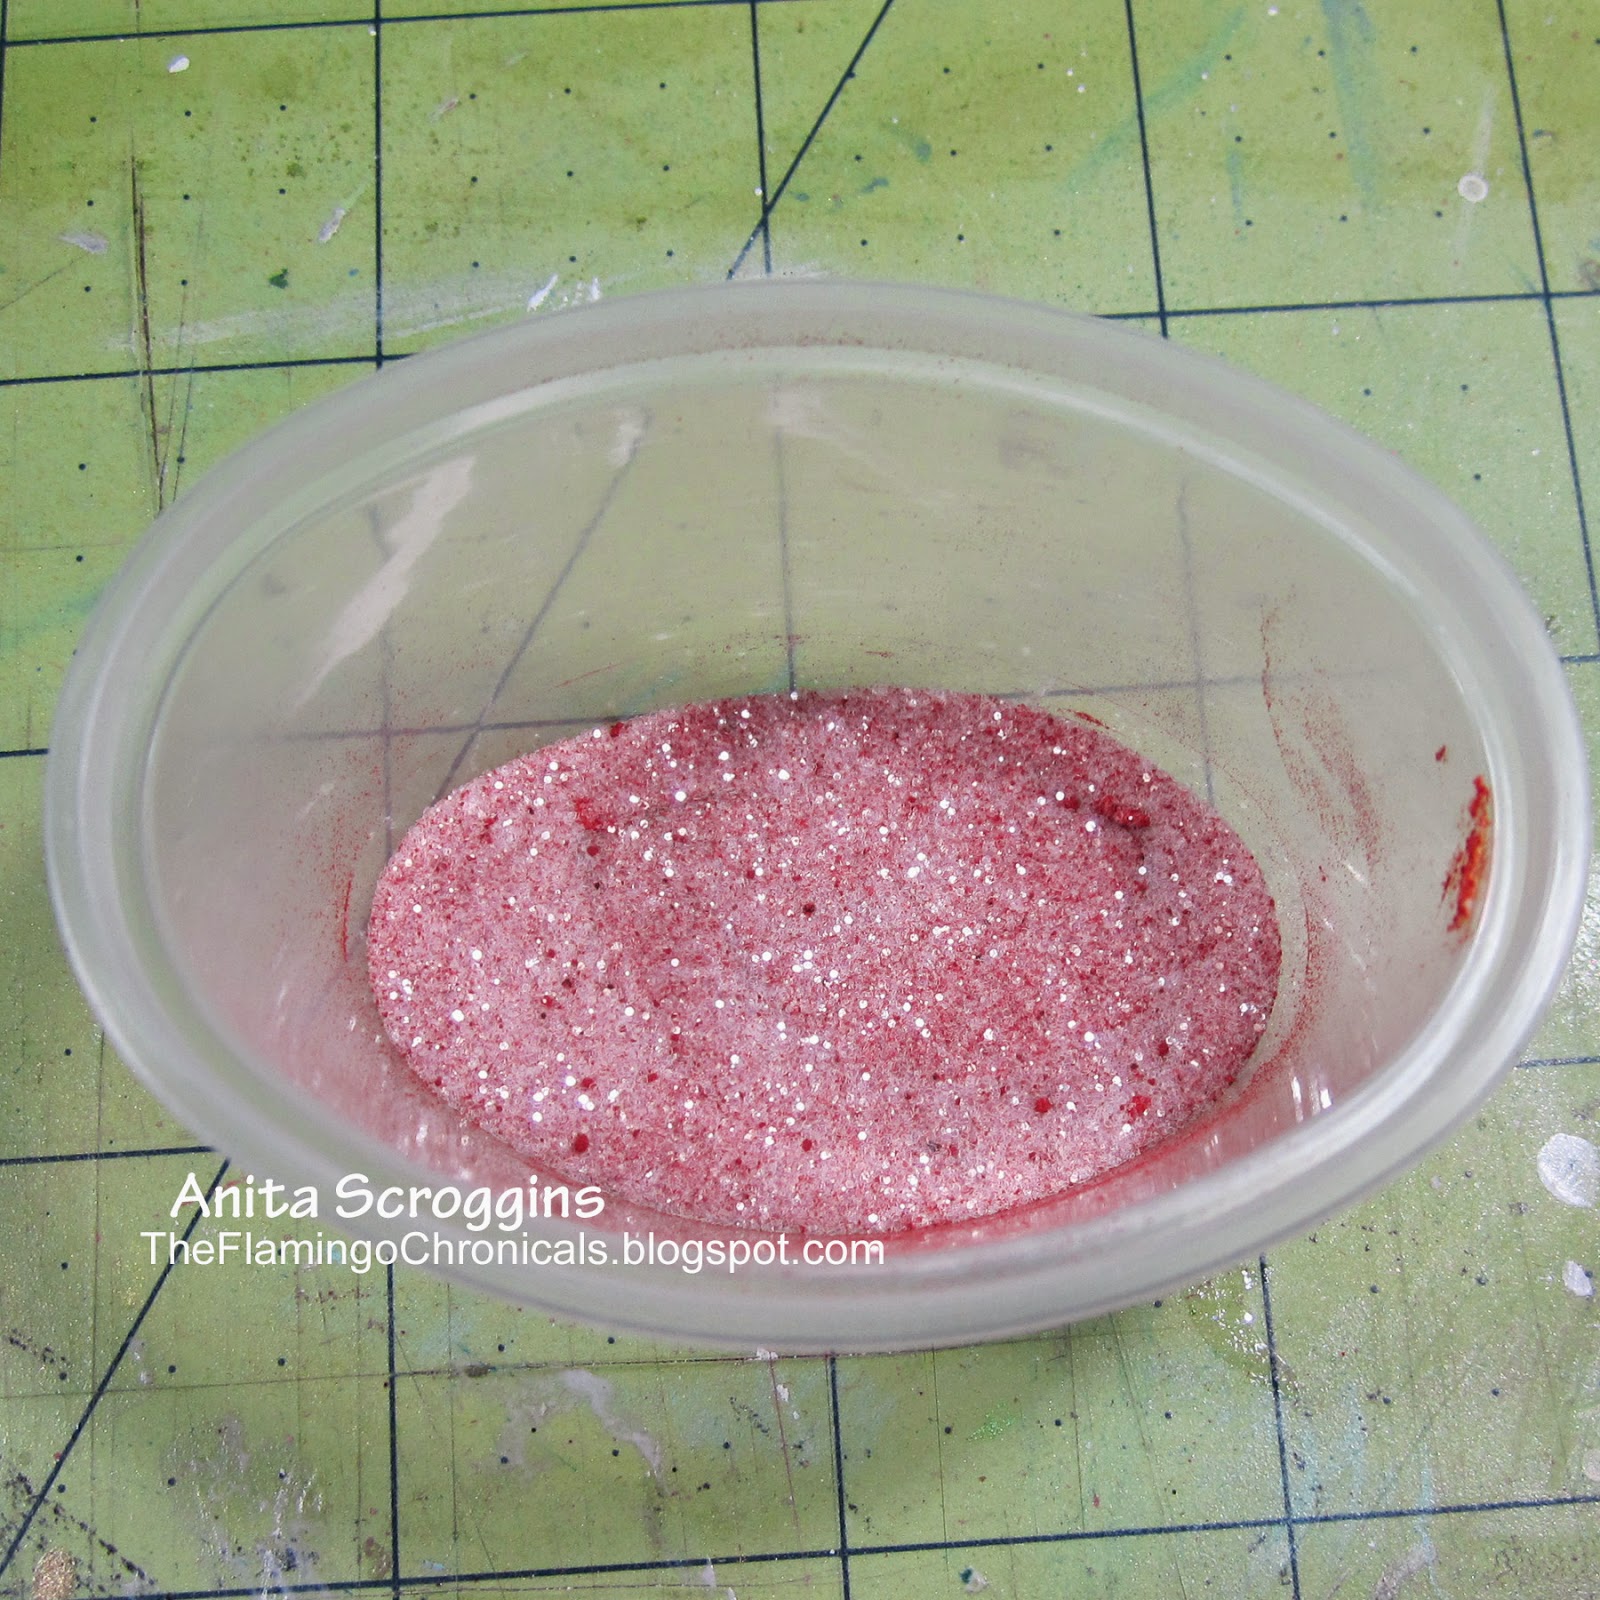
I mixed some Distress Glitter (Clear Rock Candy) and My Mango Mania Flat Shot together in a small cup and set it aside. Once I had spread a THICK coat of molding paste and removed the stencil, I poured the mixture over the paste, letting the excess run off onto a scrap of paper. 

background texture
This is what you end up with. Now, the background will be PLAIN. The reason mine is orange, is because I sprayed it with Dylusions White Linen- the residual Flat Shot that was on the paper will turn colors when the spray hits it. If you don't want the paper to be colored, just don't spray it!

Set this aside to dry, like over night. Seriously. Then you will need to seal it. REALLY. 
You will need to seal it, or it will get all over your hands every time you touch it. 
Trust me on this. 
I use Helmar's Crystal Coat Matte Varnish, but any spray sealer will work.

matching embellishments
I added Glitz 77 stickers, flowers, and resin accents from the Summer's End Kit, some lace and a chipboard from Blue Fern Studios. To color the chippie, I used plain old pan watercolors then misted with iridescent ink. 

embossed chipboard
I used Midnight Copper Embossing Powder from Lindy's Stamp Gang for my title.

Thank so much for stopping by today!


New Storage Ideas with Deflecto

Good morning everyone, I hope you are having a great week so far.

You know I love to organize, right? Well I recently received some amazing products
from Deflecto Craft Solutions to add to my studio and have worked a few of them into my space.
I am so loving these versatile little items! 

So,, just a couple of weeks ago I was lamenting the fact that I did not have a really good way to store my new set of Tombow markers.  Ba-da-bing, ba-da-boom, I open my happy mail and there is the most perfect
 Stackable Cube Organizer X Divider right on top! This thing is perfect, because with the divider I can sort my markers into color groups, and even when I carry the bin around they stay in an upright position. LOVE IT. 


To the right of the markers is the Stackable Cube- which is just the open cube and 
I like the fact that I can put larger items in it. Very handy for holding my Xyron sticker makers
 and getting them off my desk.


To the left of the markers is the Stackable Cube Organizer 4 Drawer and this thing is so 
cute it is ridiculous. Really. 
I had a hard time deciding what I want to use this for, and I finally settle on washi tape collection. 
I see more of these in my future! 

All of the Stackable Cubes clip together on the side so they will stay in place (you can see the clip
in the photo above just to the right of the open drawer).

Be sure to check out the Deflecto Crafts Facebook page for more of their fabulous products.

I have more fabulous goodies to share with you later this month!

Thanks for stopping by today!
Anita

Christmas Goodies with Sparkle N Sprinkle

Happy Sunday all my blogging friends!
A new week is here and I am enjoying the fabulous cool weather here in 
Dallas. WOW- did we get a cool snap! 

Today I have a new project for Sparkle N Sprinkle to share with you
We love to bake during the holidays at our house, so the new Sweet Holiday #655 Stamp Set is perfect!

I stamped the sentiment and heat embossed with Silver Detail EP, then filled in the outline with a marker.
I stamped the Gingerbread Man with Brown VersaMark ink, then colored with pastel pencils and added black rhinestones for the buttons. I stamped directly on top of my glitter using the new Wonky Lines Background to create my punched border strip.

 I used the Christmas Delight Digi along with my Silhouette Cameo to create my title.

I covered a piece of chipboard with 2 1/2" Tear-ific Tape, then burnished with Goldenrod and Luau Green Glitters.

I am so excited that Sparkle N Sprinkle will now be stocking Mon Ami Gabby products in the store!
I love bling, and these products are fabulous. I always run for their booth at convention ;)

To see more detail on my layout, including the full supply list and directions, please visit

I'm linking up at the following challenges:


 Thanks so much for stopping by today!

Have an amazing week!

Anita


I love You More - Frosted Designs Friday Challenge

Hi everyone and happy Friday!

We have a new challenge over at Frosted Designs today.
This week the theme is Graffiti/Doodling/Hand Journaling

Here is a look at my layout
I love the golden tones of the new We R papers (from the Summer's End Kit).


 I used a stencil and ink to create my graffiti here on the side of the page. After it was dry I used my Signo white pen to add some detail to the dots. I also doodled around both the layers seen here using a contrasting pen

I used a second stencil and  modeling paste colored with Gelatos to create some texture around the page. The chippie from Blue Fern Studios was inked, then I added flowers and bling.

I used one of the stickers from the Summer's End kit and cut it into several pieces to tuck behind the photos.

My title was embossed with Lindy's Stamp Gang powder, then I lightly rubbed
StazOn Cotton White ink over the top.


 Here's a list of items used from the Frosted Designs Store

Summer's End Kit

Thanks so much for stopping by today!

I'm linking up at the following challenges:
Quick Quotes Blog: Use BLING
Berry Bleu: Things You Love
 Lasting Memories #208: Add Leaves


Be sure to hop over to the blog and check out the fabulous
projects made by the Design Team.


Home Decor Challenge- Kunin Felt, Beacon Adhesives, and Buttons Galore and More


Kunin Felt, Beacon Adhesives and Buttons Galore & More are pleased to sponsor the DCC's September blog hop. Twenty DCC members will be able to participate. Each designer will receive a shipment with a unique variety of felt products and buttons, plus a separate shipment of Fabri-Tac Glue.Kunin has a new line of premium 8oz felt, Ecofi-Plus, along with other prints, patterns and embossed felt fabrics...and BGM buttons and Fabri-Tac are the perfect partners! 

There are prizes to be won, so be sure to check out the info at the bottom of the post!

Our theme was Home Decor Projects and I made a wall hanging for a spare bedroom we are
in the process of redecorating.

I used a bare wood frame from Michael's and painted it using the trim color of the room.
I used Glitter Felt and Classic Felt from Kunin Felt for the center of the frame. I sewed the pieces together and mounted them on a piece of foam core. I used Fabri-Tac from Beacon Adhesives to secure the foam core to the back of the frame. I added some random doodling around the edge of the frame using paint pens and markers.

 To make these flowers, I used white Glitter Felt from Kunin and then gave it a spritz with some Chalkboard ink. These flowers SERIOUSLY look way better in person than they do in this photo. I must have taken 20 pics and could not get one that looked great :( 
Anyway, as anyone who knows me is aware- I have some very real button issues. I have drawers, and bins, and bottles of buttons. I really LOVE buttons.  So I used copper wire and shiny black buttons to complete my flower spray here. I used Fabri-Tac to hold all this down. 


Love felt? Here is how you can reach the lovely people at Kunin Felt
Kunin
http://kuningroup.com
https://www.facebook.com/pages/Kunin-Felt-Products/259966984033282
https://twitter.com/KuninFeltFC
http://www.pinterest.com/kuningroupgeorg/

Please stop by and say hi to my freinds at Beacon!

Beacon
http://www.beaconadhesives.com/chaven.html
https://www.facebook.com/beaconadhesives
https://twitter.com/BeaconAdhesives
http://www.pinterest.com/beaconadhesives/

You know you love buttons too- so hop over and give a shout out to Buttons Galore & More

BGM
http://buttonsgaloreandmore.net
https://www.facebook.com/buttonsgalore
https://twitter.com/ButtonsGalore
http://www.pinterest.com/buttonsgalore


a Rafflecopter giveaway


For more information check out the Designer Crafts Connection Facebook Page. The Giveaway info is at the top.

Thanks so much for stopping by today!

Have a great week!

Anita

Fall Centerpiece with Smoothfoam

Who is ready for FALL?
It has been a very weird summer here in North Texas, very cool all in all, but I am ready for fall to start so I am getting my decor ready. 
I needed a new centerpiece to go along with my new table runner this year and decided that quick and simple was what I needed. 

You will need:
Double Sided Tape
Burlap Ribbon 6" Wide
Silk Flowers
Beacon 3-n-1 Adhesive
Wired Ribbon

I stacked the discs together and adhered using double sided tape.
I used some fabulous Burlap ribbon from BurlapFabric.com to wrap the outside of the stack, again using double sided tape to secure.  I used Beacon 3-N-1 to add some loose flowers I had saved from another project, and some ribbon from my stash to finish it off. I am using a vintage doily and cake plate from my grandmother to display it on my table.  Easy Peasy!

Thanks so much for stopping by today. 

Anita

Deconstructed Layout #13 Happiness Is,,,,

newborn layout
Today's Deconstructed Layout - Happiness is,, -  is about using repeating patterns and colors. I really wanted my photo on this layout to stand out, but I still wanted to be able to use a fair amount of detail and embellishments on the page. In order to do this, I kept the colors to a minimum and repeated the same shapes over and over.


To see the more in the Deconstructed Layout series go here.


My goal was to have lots of detail on the page, but make it blend into the background and let the photo shine in front. 
To make this happen, I 
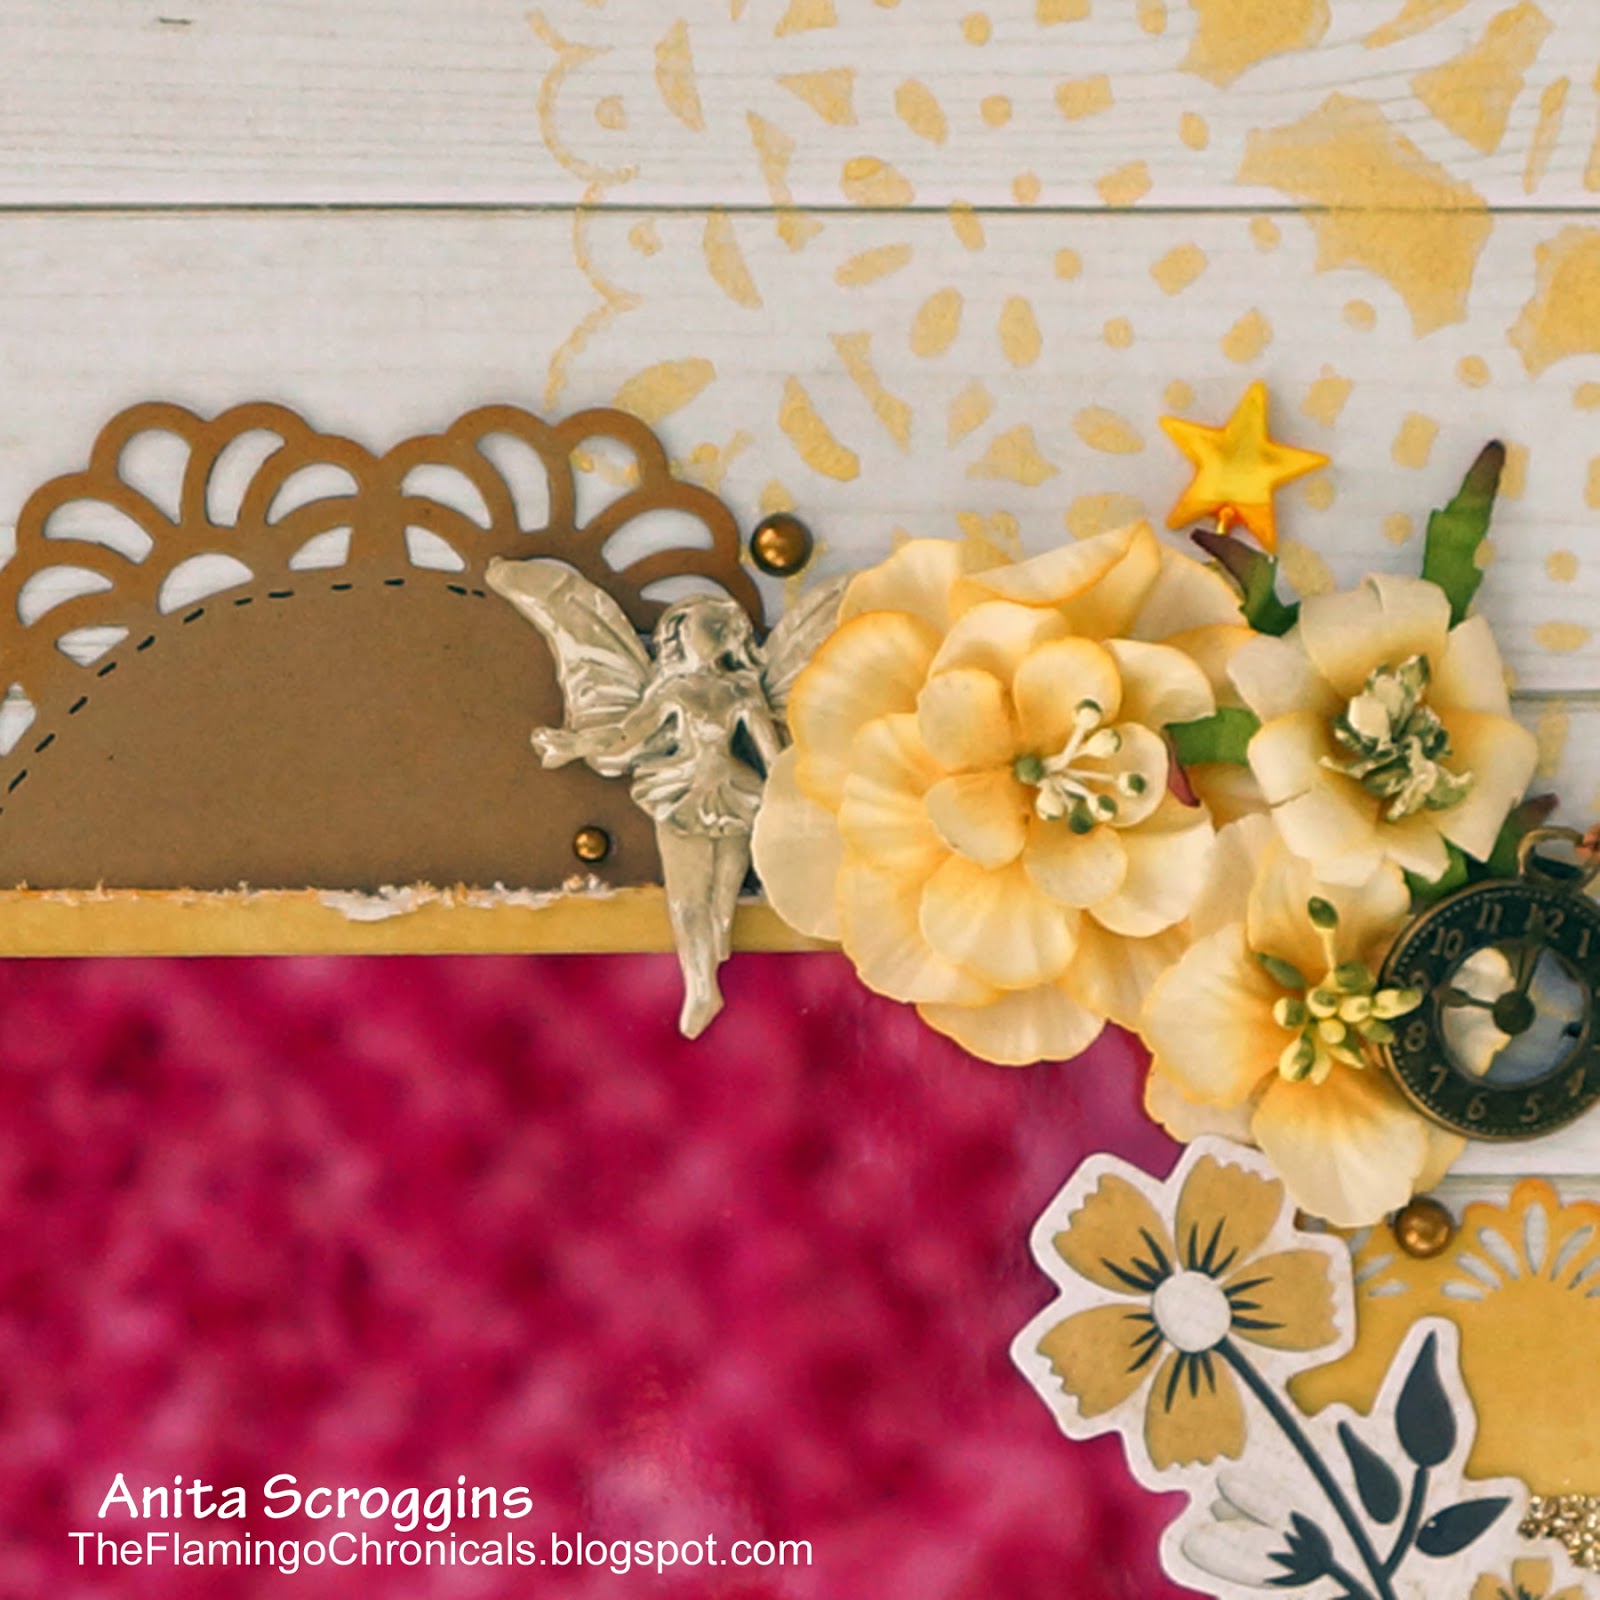
1. repeated the same basic shape of the KRAFT DOILY several times.
*doilies
*stenciled background
*brads
*flowers
2. I REPEATED the pattern of the KRAFT DOILY on the edge of my punched strip
3. I picked a color from the photo (Golden Yellow)and went several shades lighter for the color of my embellishments/background


photo accents
These Petaloo flowers were the perfect color, and I used a  We R paper from to mat my photo.


paper punches
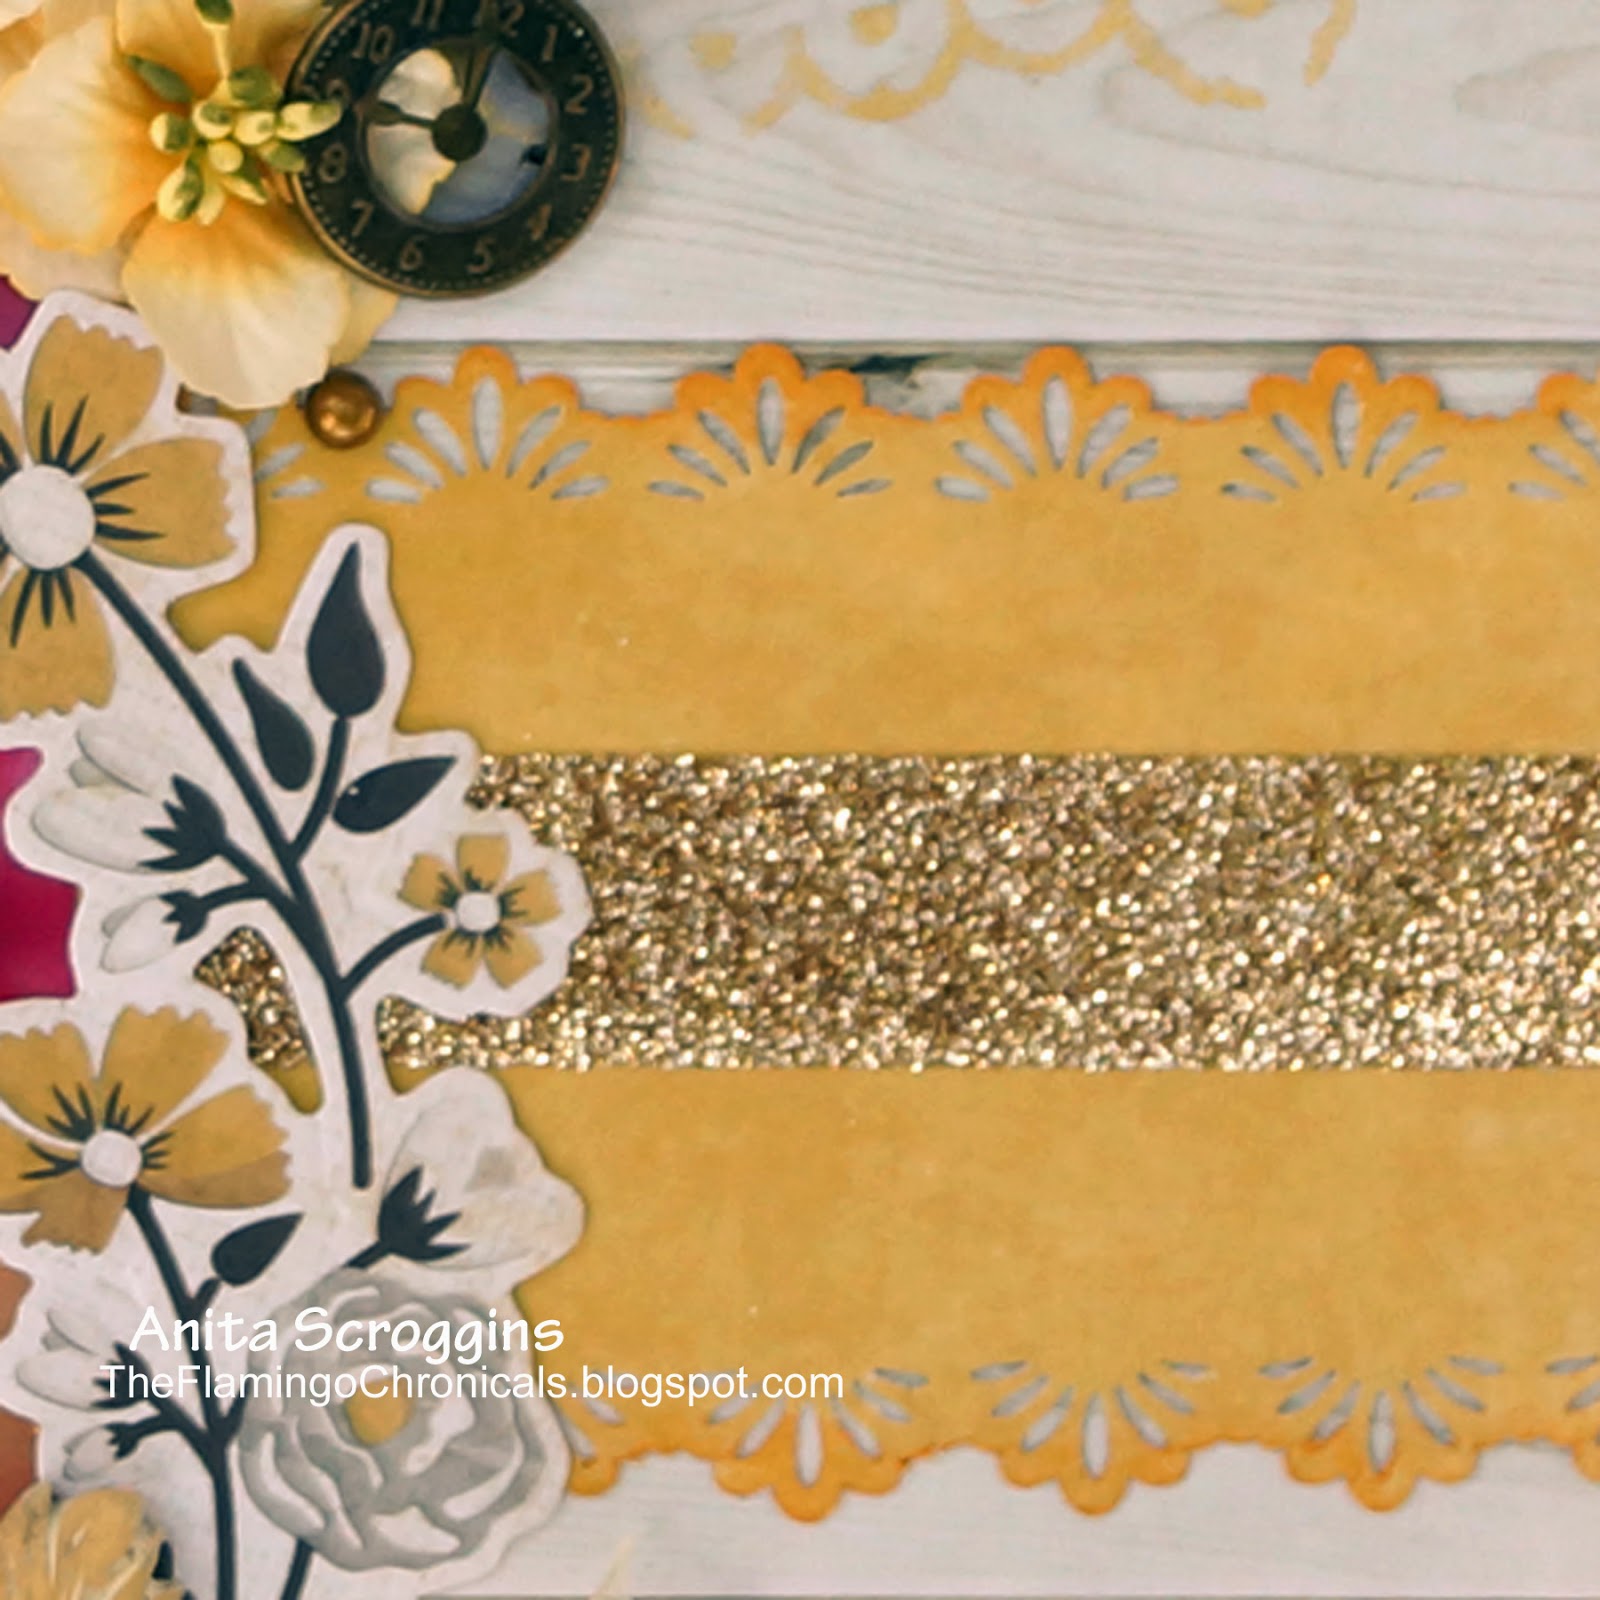
This is the same cardstock I used to mat my photo with, I punched both edges and added a strip of glitter down the center.

faux stitching
On the kraft doily I inked the edges and added some faux stitching- and I cut them in half before I tucked them under the photo mat. Now, I still have 3 to use again on another project. The stamp I used here is from Elle's Studio stamps.

resin accents
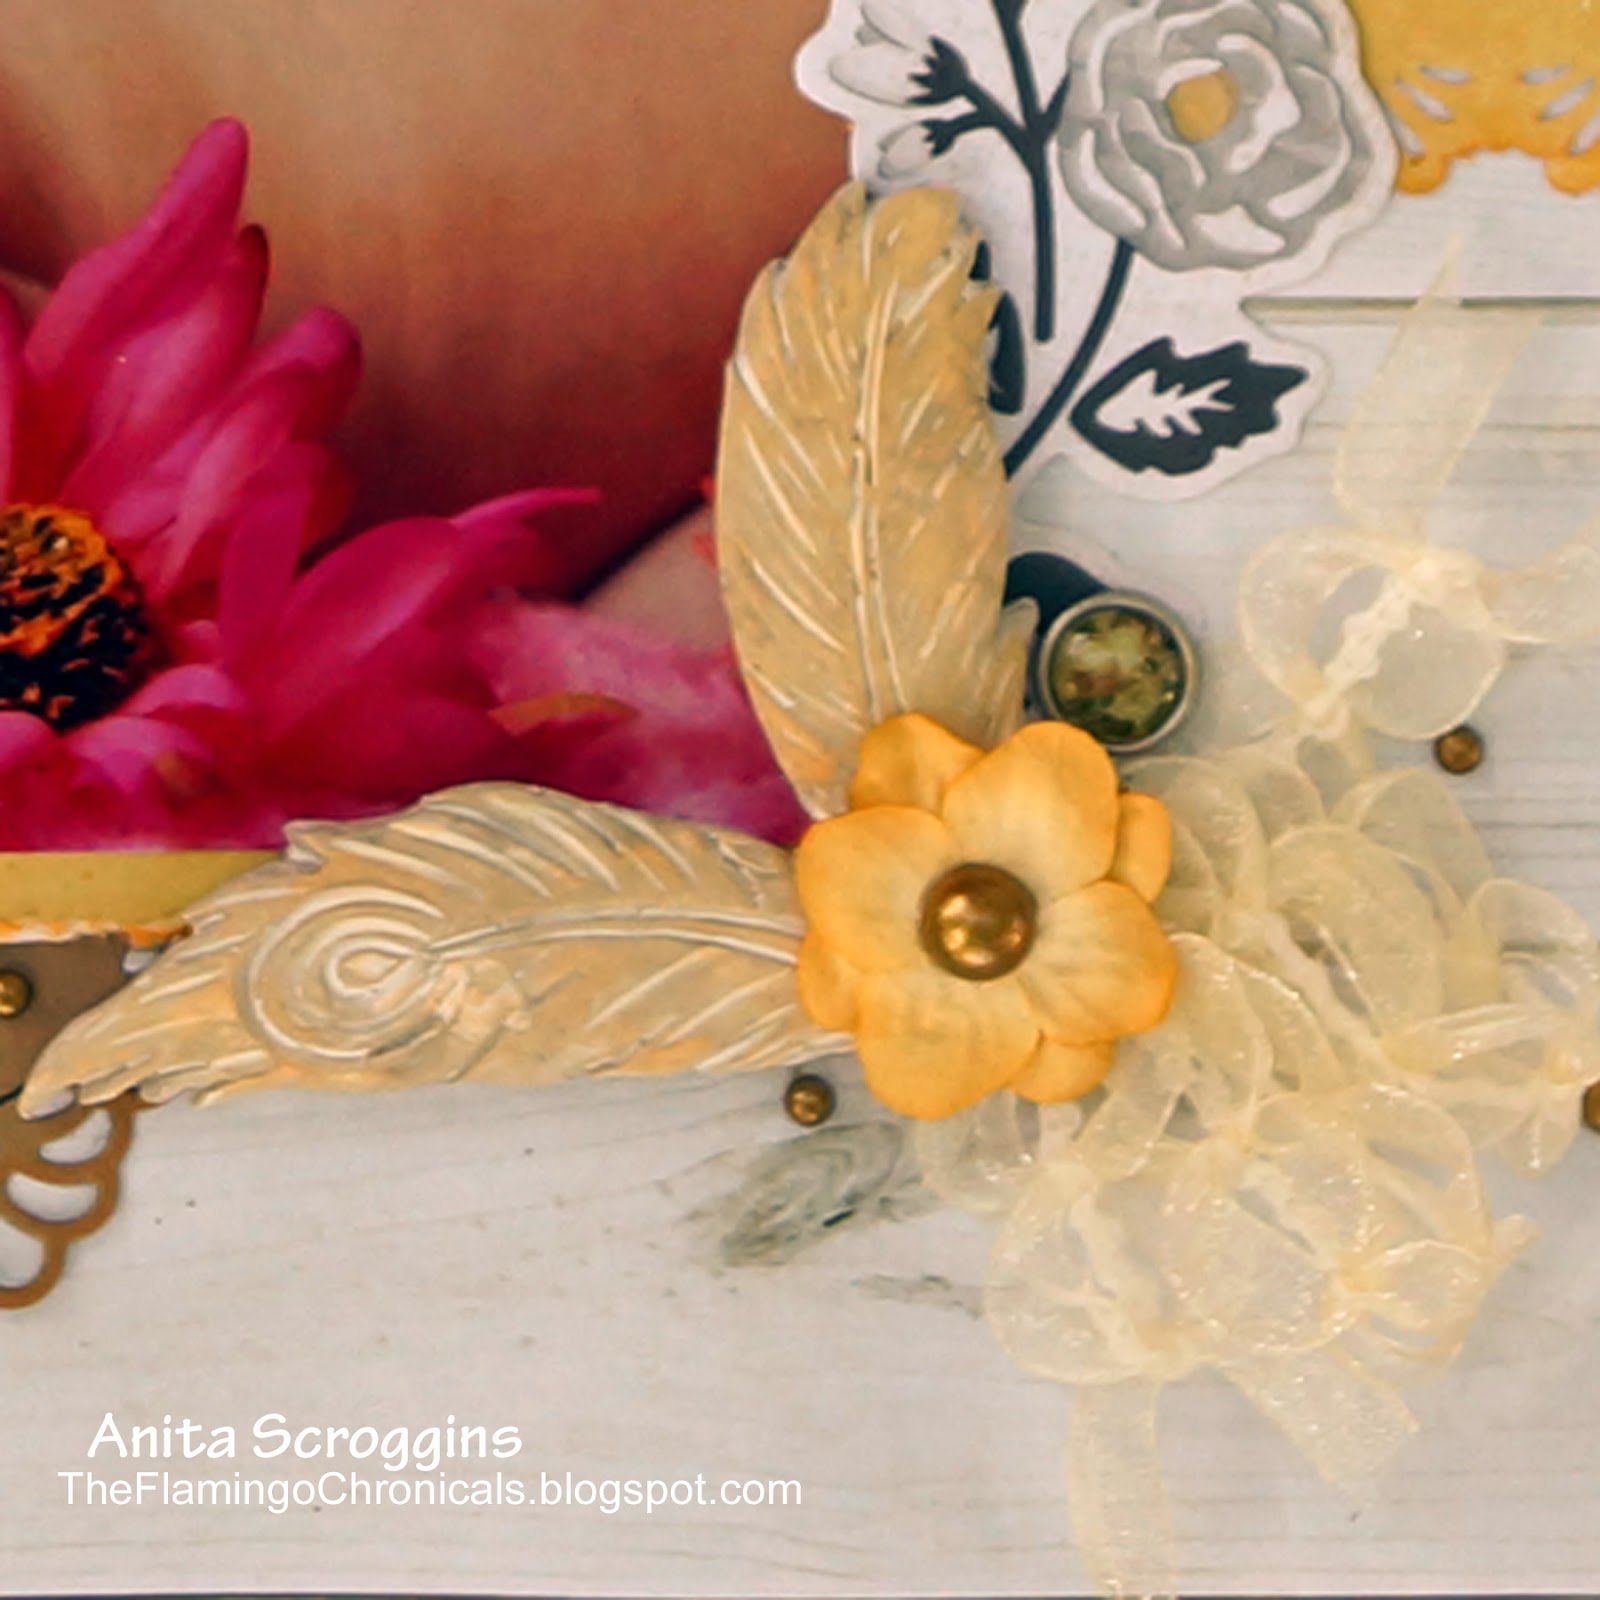
I loved these resin accents, but they were white, so to make them blend in I used the same ink on them as I used else where and buffed with a dry cloth. I added some ribbon and more pearls here. 

Thanks so much for stopping by today. 
I hope you have enjoyed this installment of my Deconstructed Layout series!